Notix InApp SDK
![]()
NOTIX is an audience re-engagement service based on push notifications that work for both desktop and mobile devices.
Contents
Setup
1. Add SDK dependency
Add the sdk dependency to your module’s build.gradle file, in the dependencies block
implementation 'co.notix:android-sdk:0.1.+'
2. Extend the Application class
2.1. Create a new file and extend Application
Kotlin App.kt:
class App : Application() {
    override fun onCreate() {
        super.onCreate()
        /* ... */
    }
}
Java App.java:
public class App extends Application {
    @Override
    public void onCreate() {
        super.onCreate();
        /* ... */
    }
}
2.2. Register the newly created App class in your AndroidManifest.xml.
<manifest ...>
    <application
        ...
        android:name=".App">
        ...
    </application>
</manifest>
Push notifications setup
Call NotixPush.init() from Application.onCreate() using your notixAppId and notixToken. These credentials can be found on the page of your In-App Android source
Kotlin:
NotixPush.init(
    context = this,
    notixAppId = /* your notixAppId */
    notixToken = /* your notixToken */
)
Java:
NotixPush.Companion.init(
    this,
    /* your notixAppId */,
    /* your notixToken */
);
Run the app and send your first notification!
Interstitial setup

Create a loader that will be accessible throughout your app and call startLoading():
Kotlin:
class App : Application() {
    override fun onCreate() {
        super.onCreate()
        /* ... */
        interstitialLoader = NotixInterstitial.createLoader(zoneId = /* your Zone ID */)
        interstitialLoader.startLoading()
    }

    companion object {
        lateinit var interstitialLoader: InterstitialLoader
    }
}
Java:
public class App extends Application {

    static InterstitialLoader interstitialLoader;

    @Override
    public void onCreate() {
        super.onCreate();
        /* ... */
        interstitialLoader = NotixInterstitial.Companion.createLoader(/* your Zone ID */);
        interstitialLoader.startLoading();
    }
}
At the show site get Interstitial instance from the loader and pass it to NotixInterstitial.show:
Kotlin:
App.interstitialLoader.doOnNextAvailable { result ->
    result?.let { NotixInterstitial.show(it) }
}
Java:
App.interstitialLoader.doOnNextAvailable(result -> {
            if (result != null) {
                NotixInterstitial.Companion.show(result);
            }
            return Unit.INSTANCE;
        });
AppOpen setup

Create a loader that will be accessible throughout your app and call startLoading():
Kotlin:
class App : Application() {
    override fun onCreate() {
        super.onCreate()
        /* ... */
        appOpenLoader = NotixAppOpen.createLoader(zoneId = /* your Zone ID */)
        appOpenLoader.startLoading()
    }

    companion object {
        lateinit var appOpenLoader: AppOpenLoader
    }
}
Java:
public class App extends Application {

    static AppOpenLoader appOpenLoader;

    @Override
    public void onCreate() {
        super.onCreate();
        /* ... */
        appOpenLoader = NotixAppOpen.Companion.createLoader(/* your Zone ID */);
        appOpenLoader.startLoading();
    }
}
Then call AppOpen.startAutoShow(appOpenLoader: AppOpenLoader):
Kotlin:
NotixAppOpen.startAutoShow(App.appOpenLoader)
Java:
NotixAppOpen.Companion.startAutoShow(App.appOpenLoader);
Now AppOpen ads will be shown automatically every time your users close and reopen the application!
For more advanced use cases see: Ignore some application opens, doOnApplicationOpen.
Native ads setup
You may implement your own way of displaying Native ads.
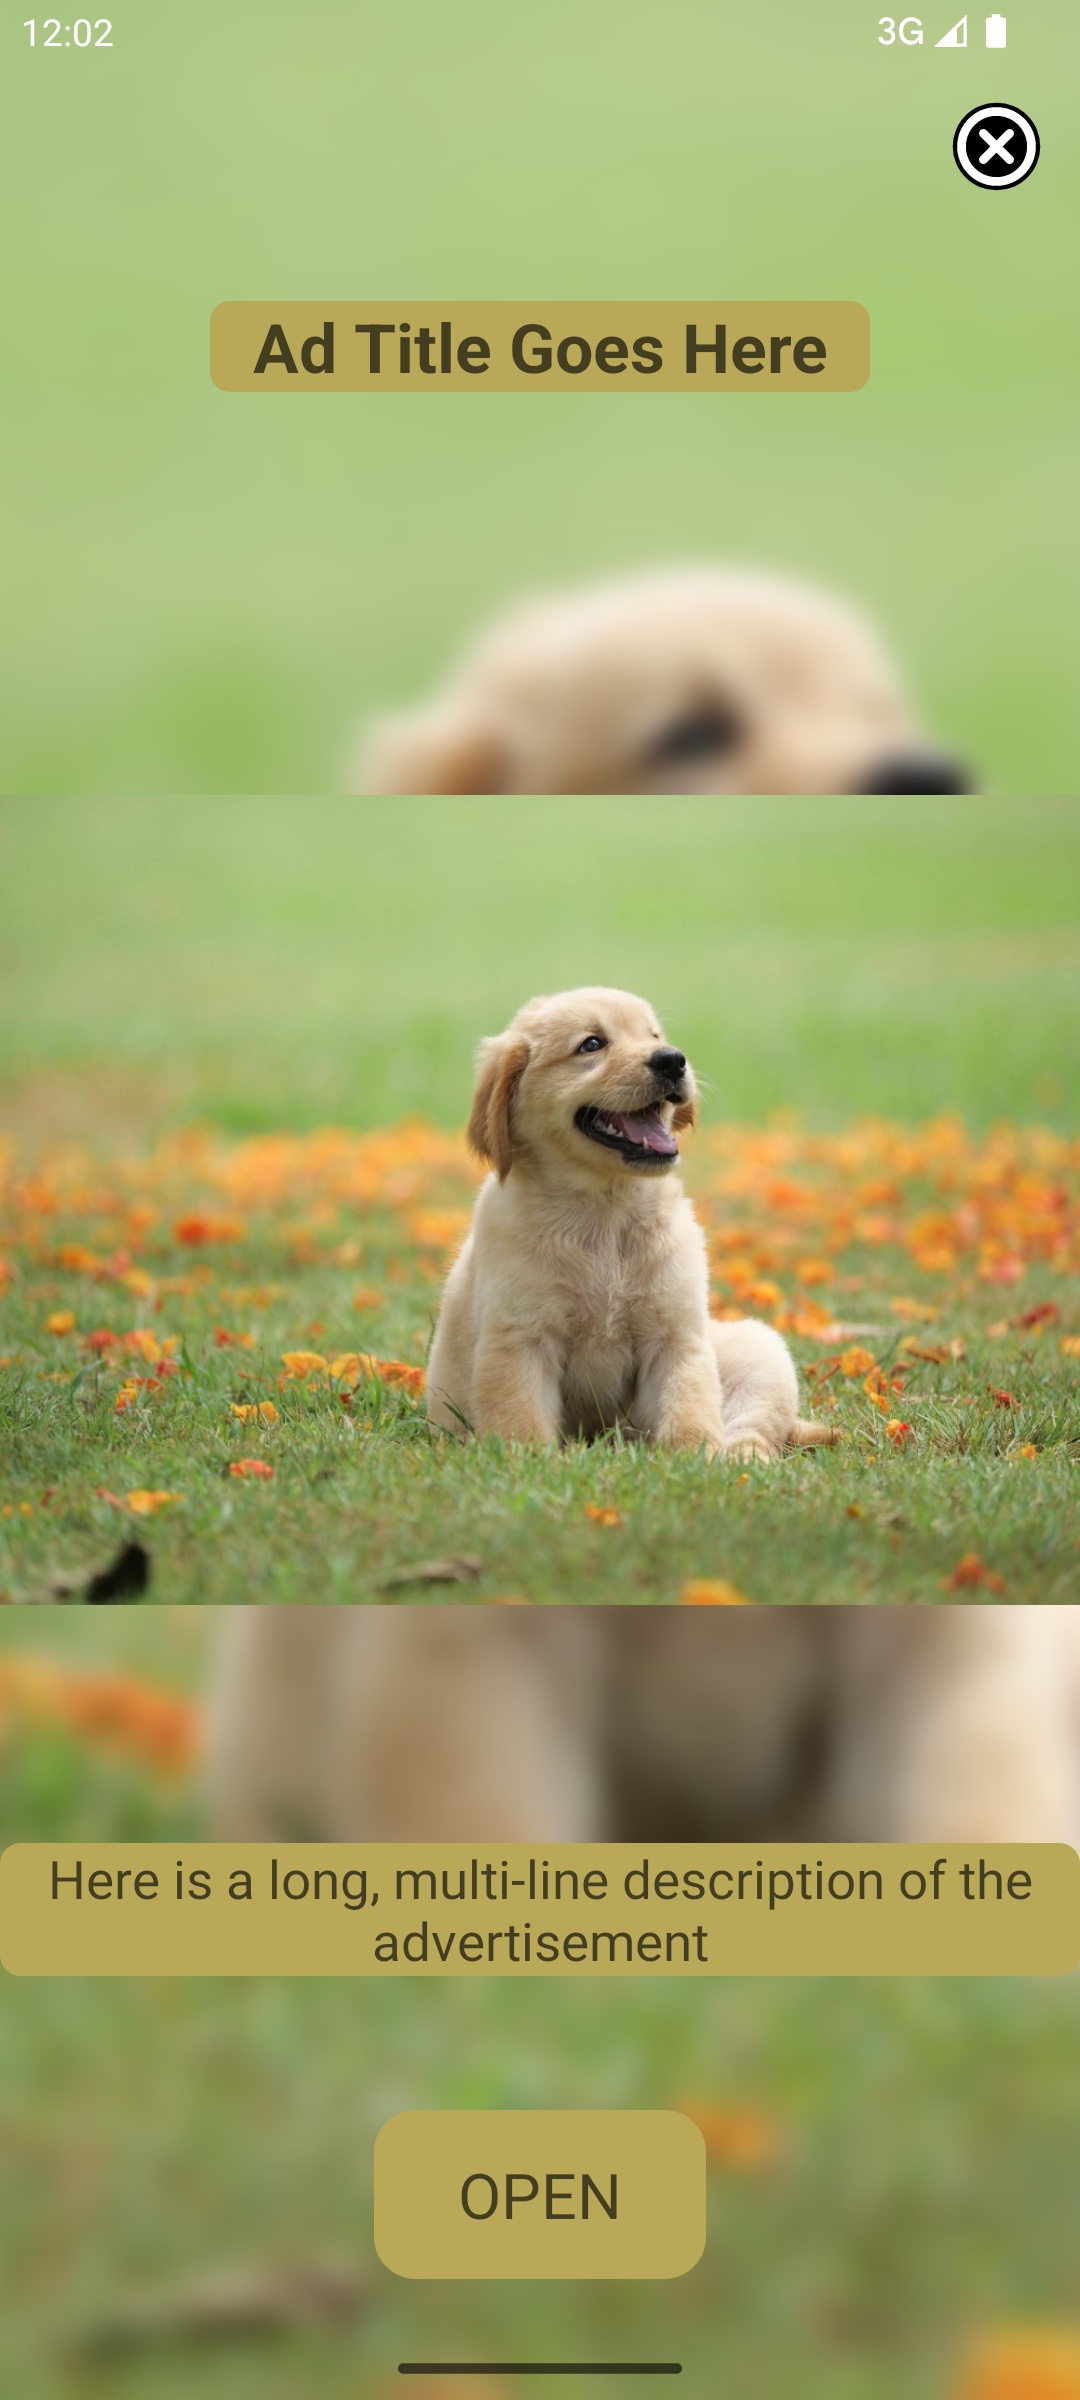
Use NotixNative.createLoader() to create NativeLoader. From that you will get NativeData instance which includes the following properties:
title: String
description: String
image: Bitmap
icon: Bitmap?
Every time the ad is shown you need to call NotixNative.trackImpression(). Only one impression per ad will be sent.
Every time the user clicks on the ad you need to call NotixNative.click().
For help with implementation and applicable restrictions please contact support.
Further steps
For additional settings please visit this page